Creating stunning photos and videos is not just about having the best camera or the perfect subject. One of the most critical elements that can make or break your visual content is lighting. Whether you’re a professional or an amateur, understanding how to use lighting effectively can elevate the quality of your work dramatically.
Why Lighting is Crucial in Photography and Videography
Lighting plays a pivotal role in photography and videography for several reasons. It affects the mood, clarity, and overall aesthetic of the images and videos. Proper lighting can highlight the subject, add depth to the scene, and evoke specific emotions in the viewer.
As American film director Aaron Rose said, “In the right light, at the right time, everything is extraordinary.” This statement underscores the transformative power of lighting in visual storytelling.
Enhancing Video Quality with Good Lighting
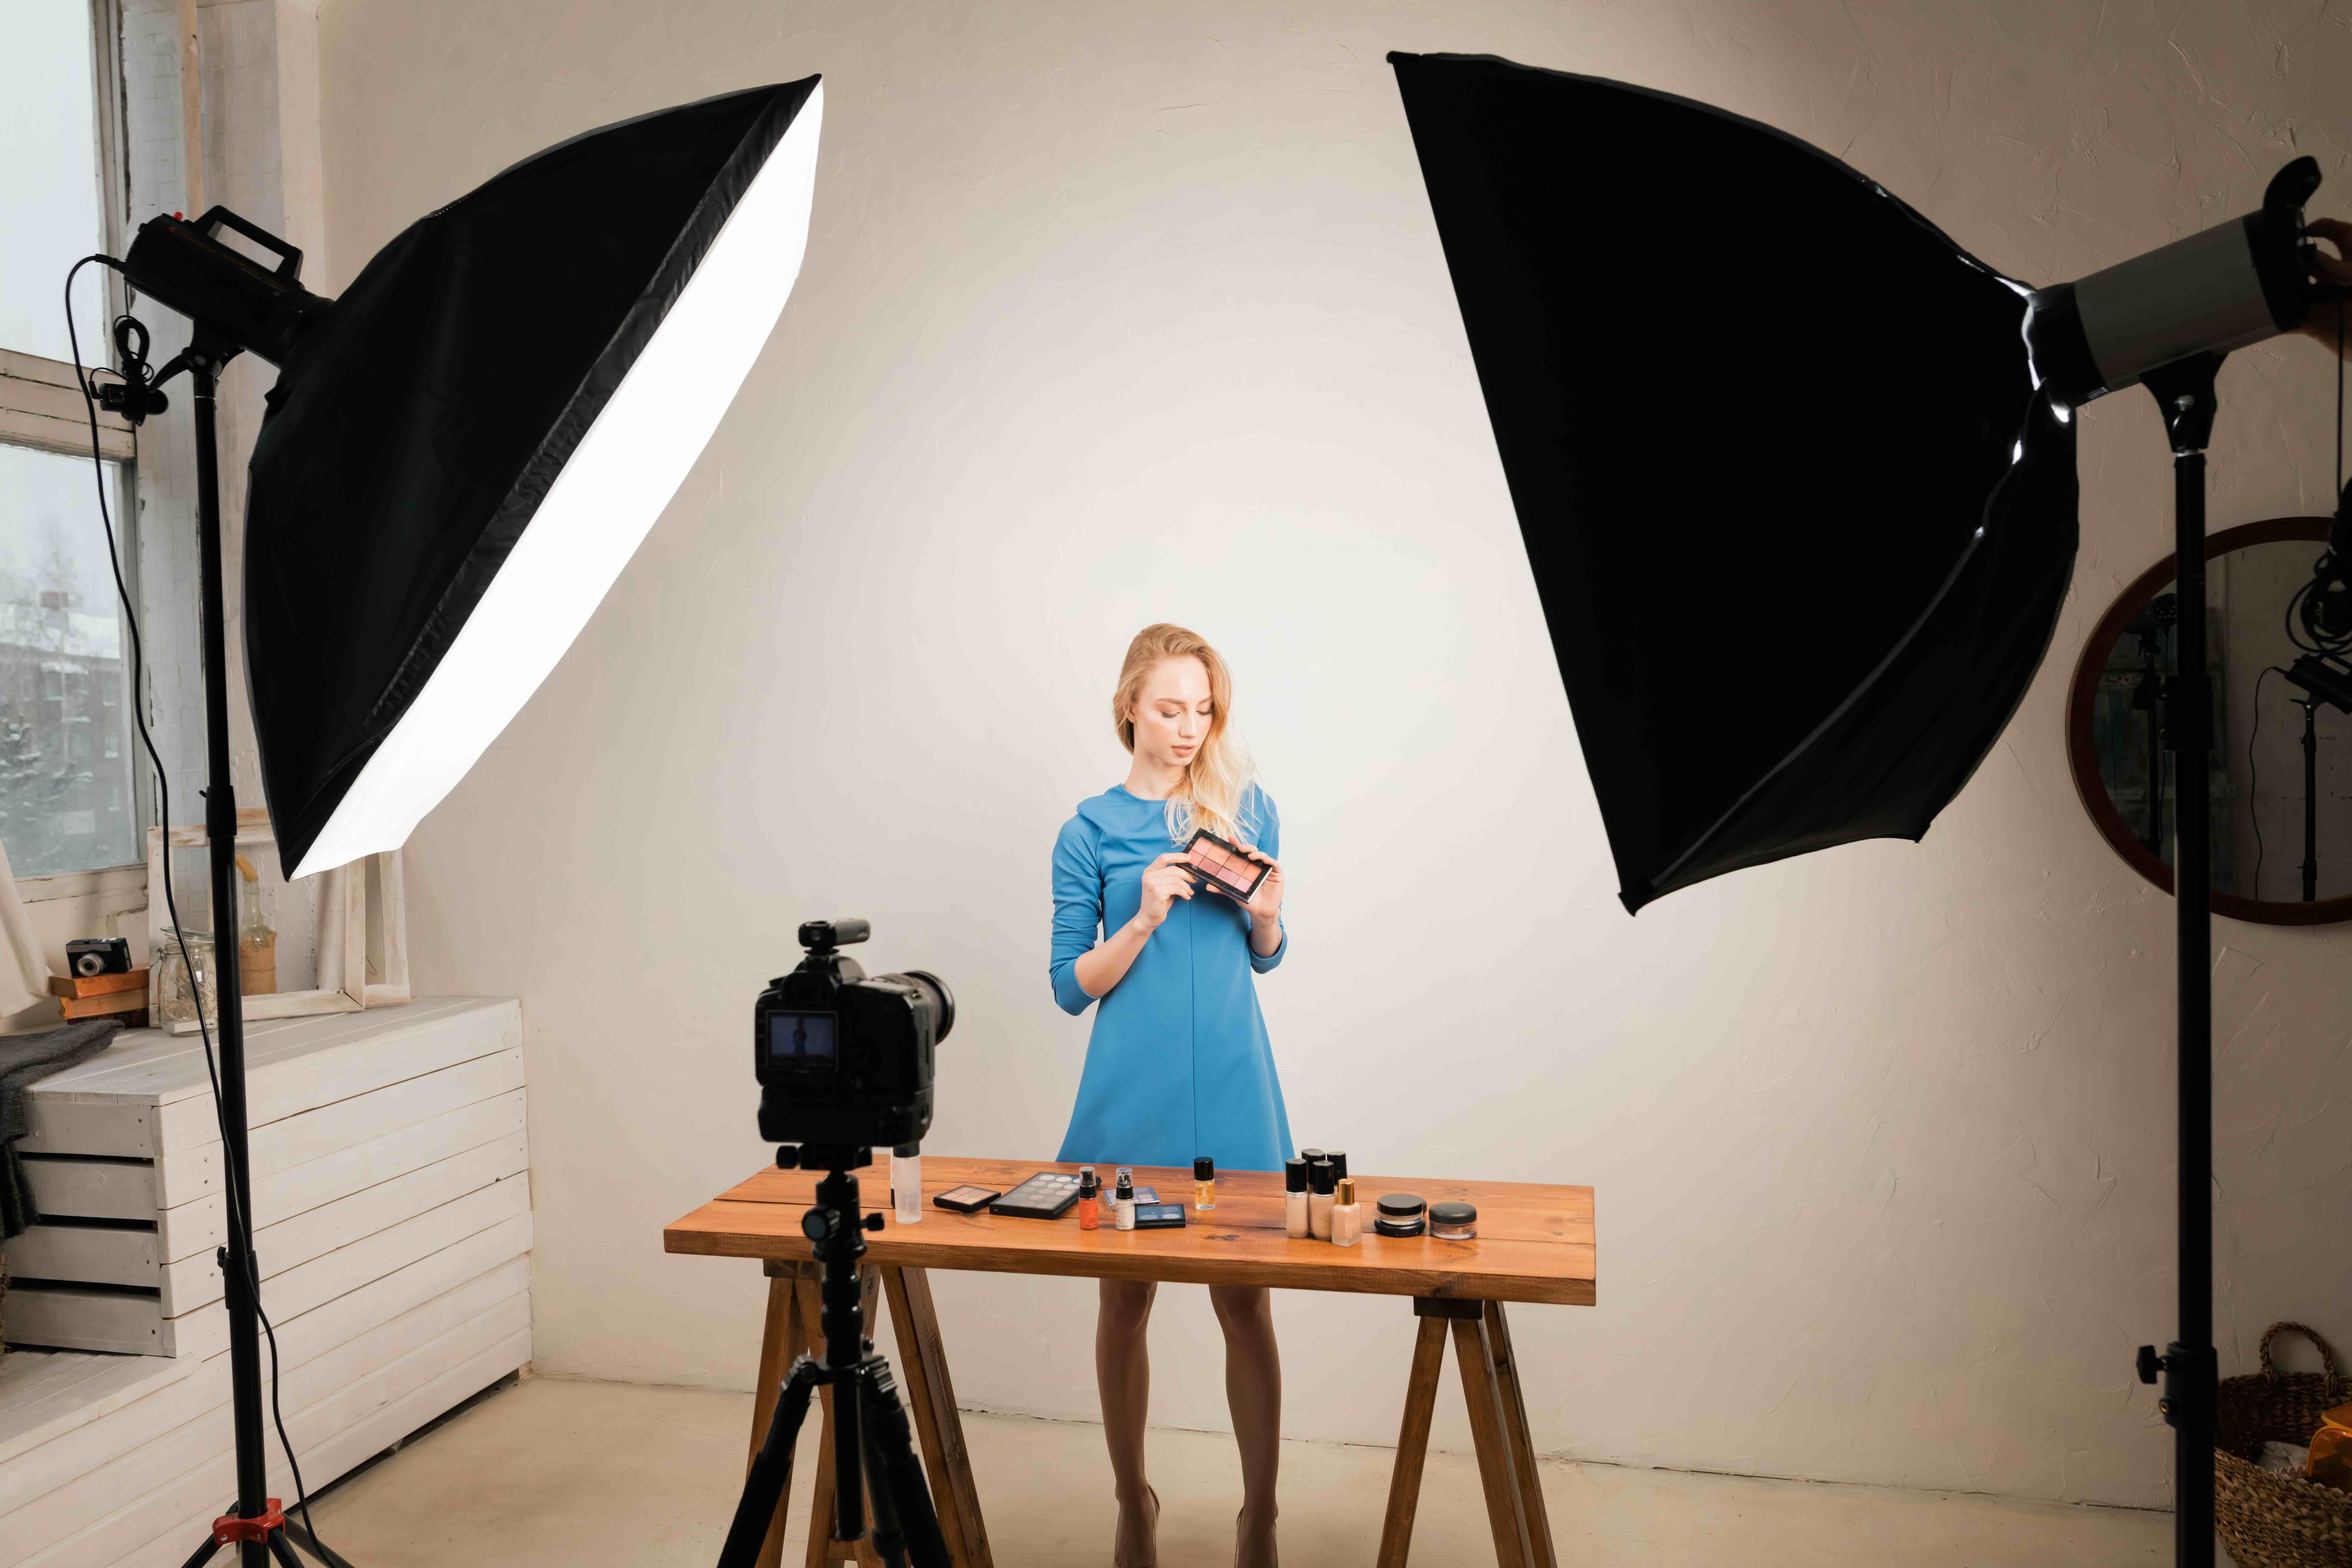
Good lighting can significantly enhance the quality of your videos. It helps make people and objects stand out, creating a more engaging and visually appealing scene. Natural sunlight is one of the best light sources, but studio lights offer flexibility and control, allowing for a variety of effects and atmospheres even indoors.
Proper lighting provides a more natural look to your videos and guides the viewer’s emotions, whether you aim to convey happiness, sadness, mystery, or excitement. On the other hand, poor lighting can distract viewers, highlighting flaws instead of the content. A scene that’s too dim loses detail, while one that’s overly bright can cast harsh shadows and create an unflattering appearance. Both extremes can make your video look artificial and staged.
Choosing the Best Lighting for Your Content
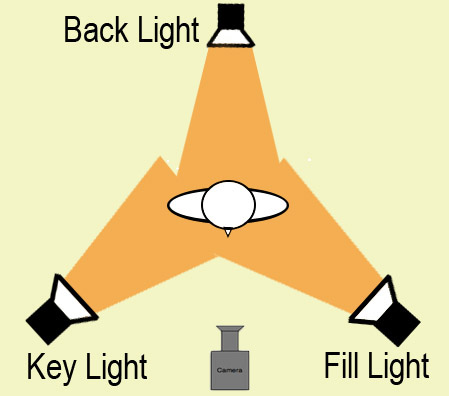
The best lighting setup depends on the desired effect and the shooting environment. The three-point lighting system, consisting of a key light, fill light, and backlight, is highly recommended for its versatility and professional results. This setup ensures balanced lighting, suitable for interviews, narratives, and various other styles.
Other setups include two-light and four-light configurations, loop lighting, and ring lights, each offering flexibility for different effects and moods.


The Role of Soft and Diffused Lighting
Soft lighting is ideal for creating a natural and appealing look. It wraps around the subject, reducing contrast and harsh shadows. You can achieve this indoors using professional softboxes or DIY solutions like white fabrics or paper. Outdoors, overcast weather provides diffused light, while direct sunlight can be harsh and directional. Reflectors and additional light sources can help balance and soften the lighting in such conditions.
Understanding Color Temperature
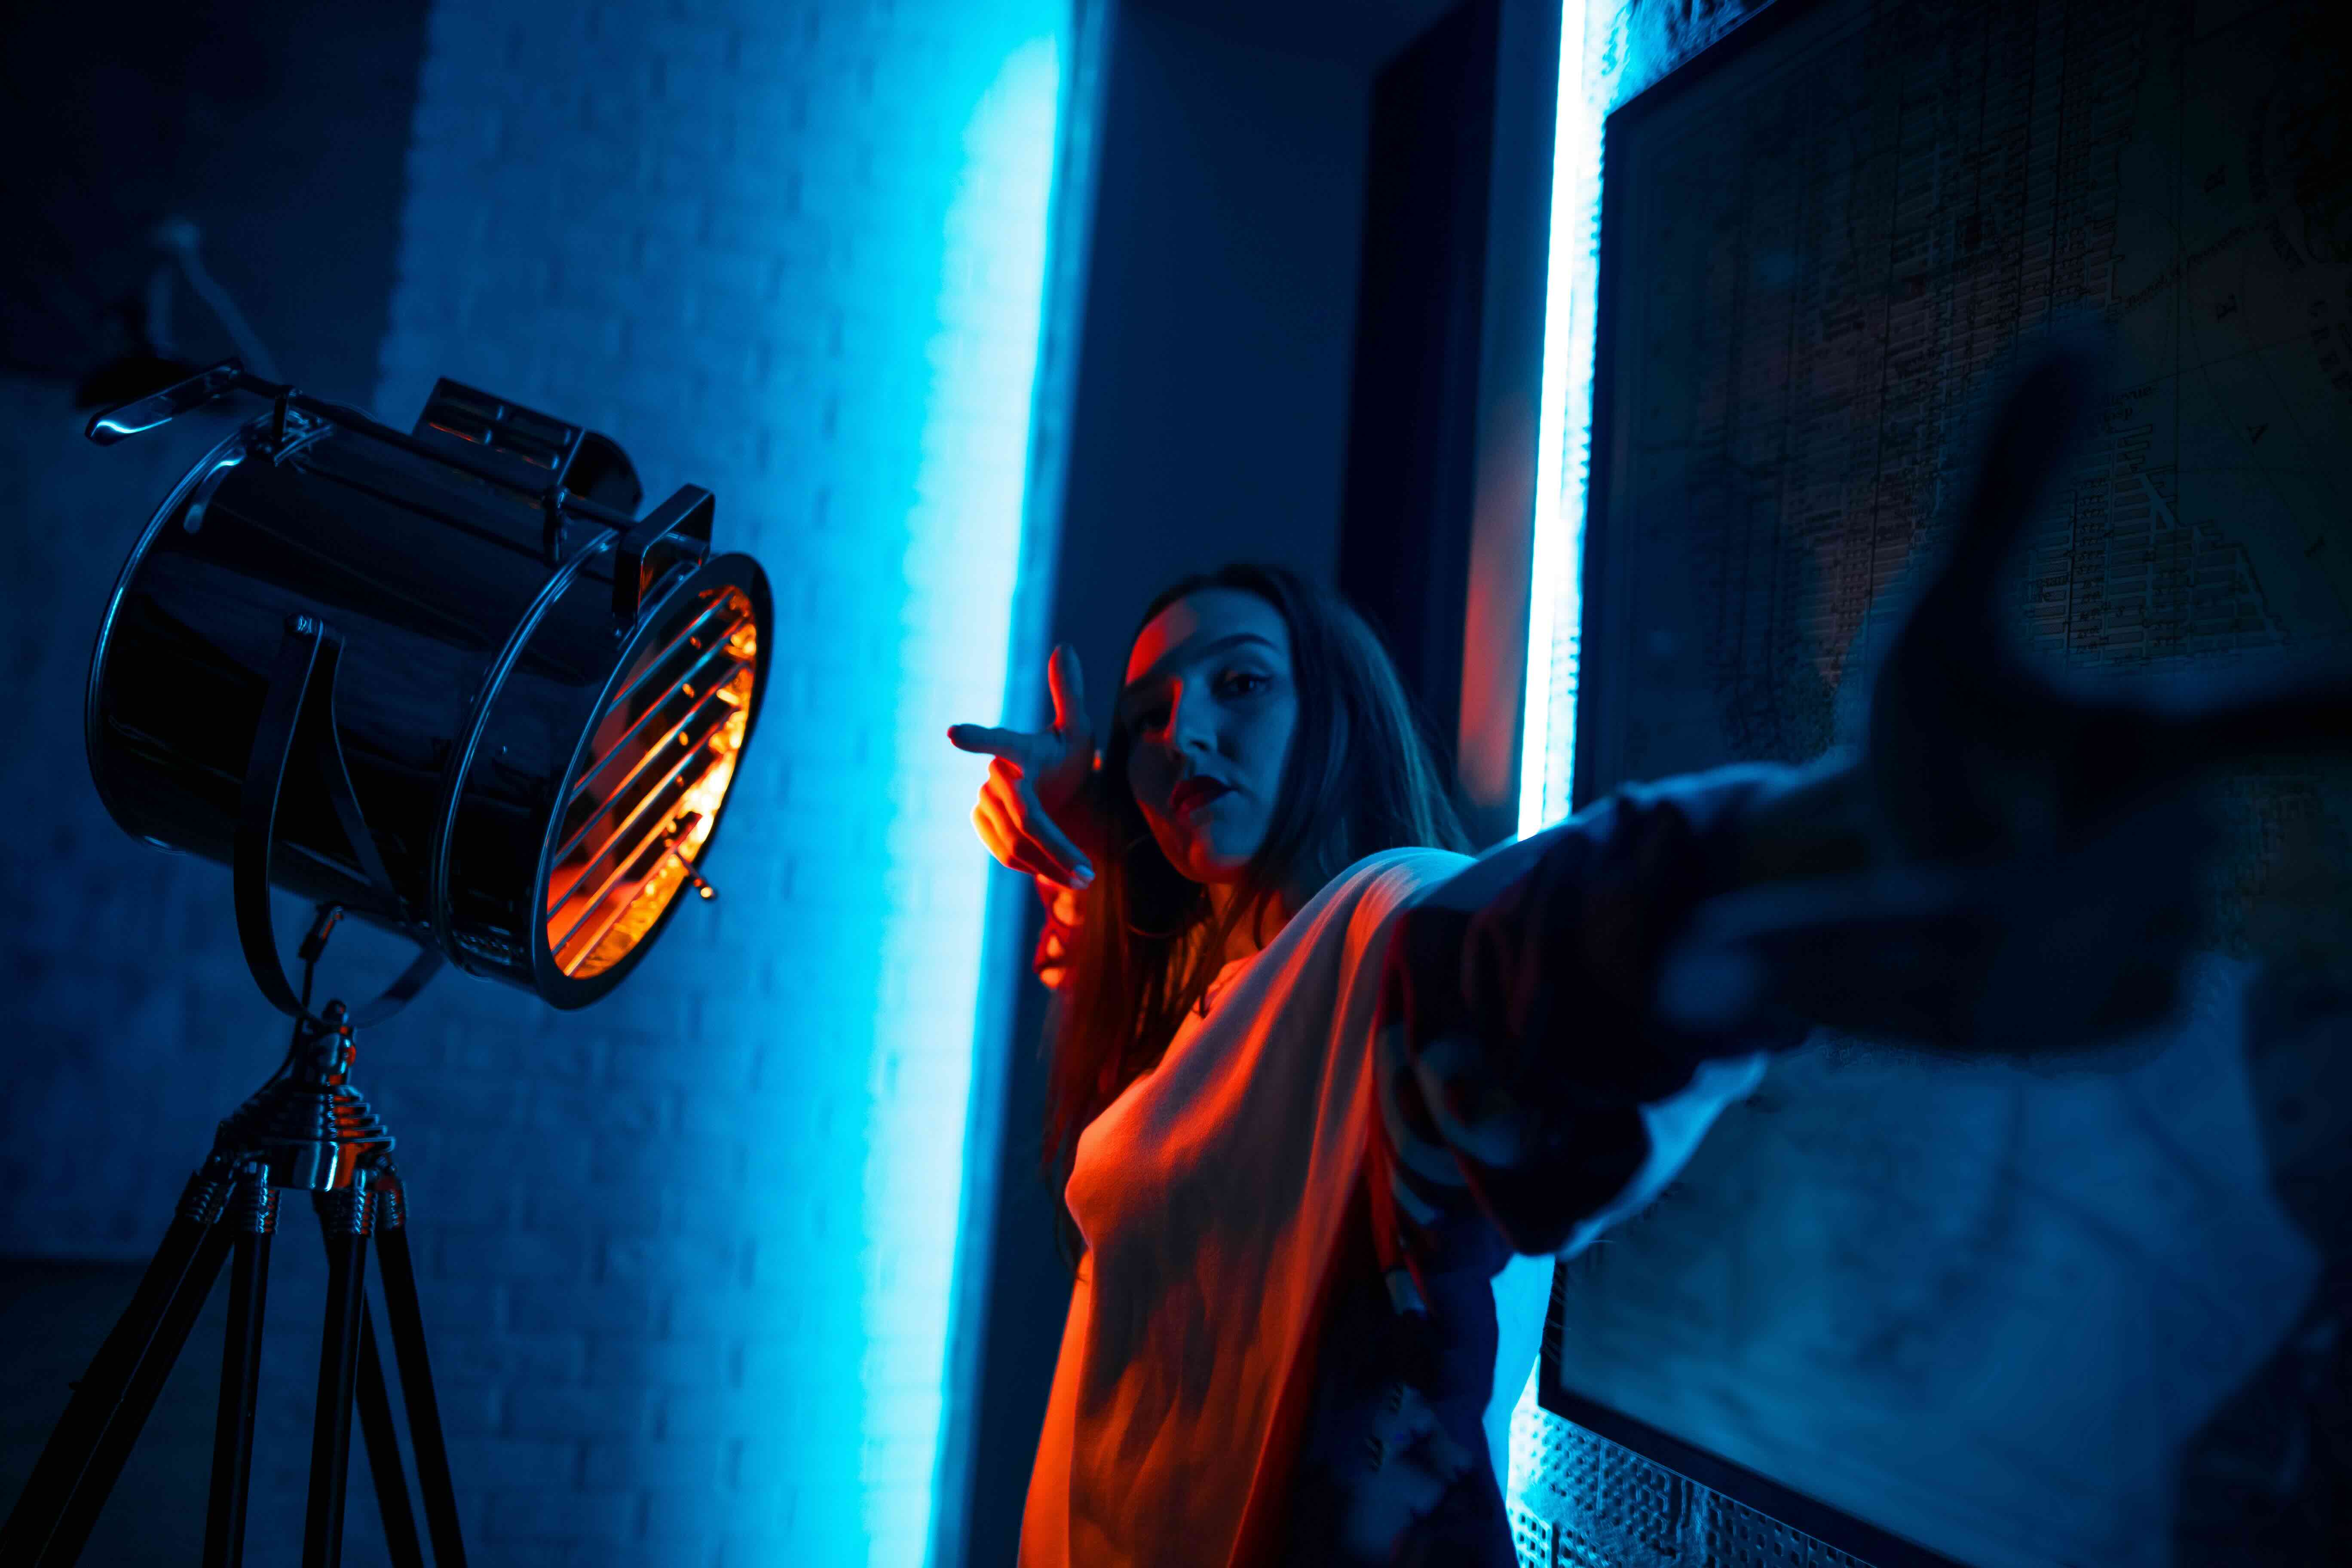
Color temperature, measured in Kelvin (K), ranges from warm (yellow/orange) to cool (blue) tones and significantly affects the mood of your video. Sunlight, at around 5600K, is considered a balanced, neutral light, while indoor lighting often has a warmer tone around 3200K. Adjusting the color temperature helps create the desired atmosphere, with neutral to slightly warm tones being welcoming for presenter videos and tutorials, and balanced, neutral lighting suitable for product demos.
Types of Lights in Video Production
There are four primary types of light used in video production to ensure the best lighting:
•Key Light: The main light source, setting the scene’s tone and casting defining shadows.
•Fill Light: Softer light that balances the key light, reducing shadows and contrast. Aim for 70% brightness of the key light.
•Back Light: Separates the subject from the background, adding depth and dimension.
If you only have 2 lights, prioritize the key and fill lights.

Experimenting with Lighting Setups
Different lighting schemes suit different projects. The classic three-point lighting setup is versatile and professional. A two-light setup can create a more natural and less stylized look, while a four-light setup adds depth with a background light. Loop lighting adds dimension to portraits, and a one-light setup with a ring light is perfect for simplicity and speed, favored by vloggers and online educators.
Final Tips for Great Lighting
1. Choose a Controllable Environment: Shoot in a space where you can manage lighting conditions.
2. Prepare Your Set: Keep it tidy to reduce unwanted shadows and reflections.
3. Consistent Color Temperature: Match lighting to maintain a coherent visual tone.
4. Avoid Glare: Position lights to minimize reflections on glasses or shiny objects.
5. Use Natural Lighting: Early morning and late afternoon provide soft, warm light.
6. Experiment: Try different angles and positions to find what works best.
7. LED Lights: Compact, adjustable, and energy-efficient, they are essential for flexibility.
Mastering the art of lighting can transform your photography and videography, making your content stand out. If you need professional assistance or want to learn more, contact Arceye Media today.


